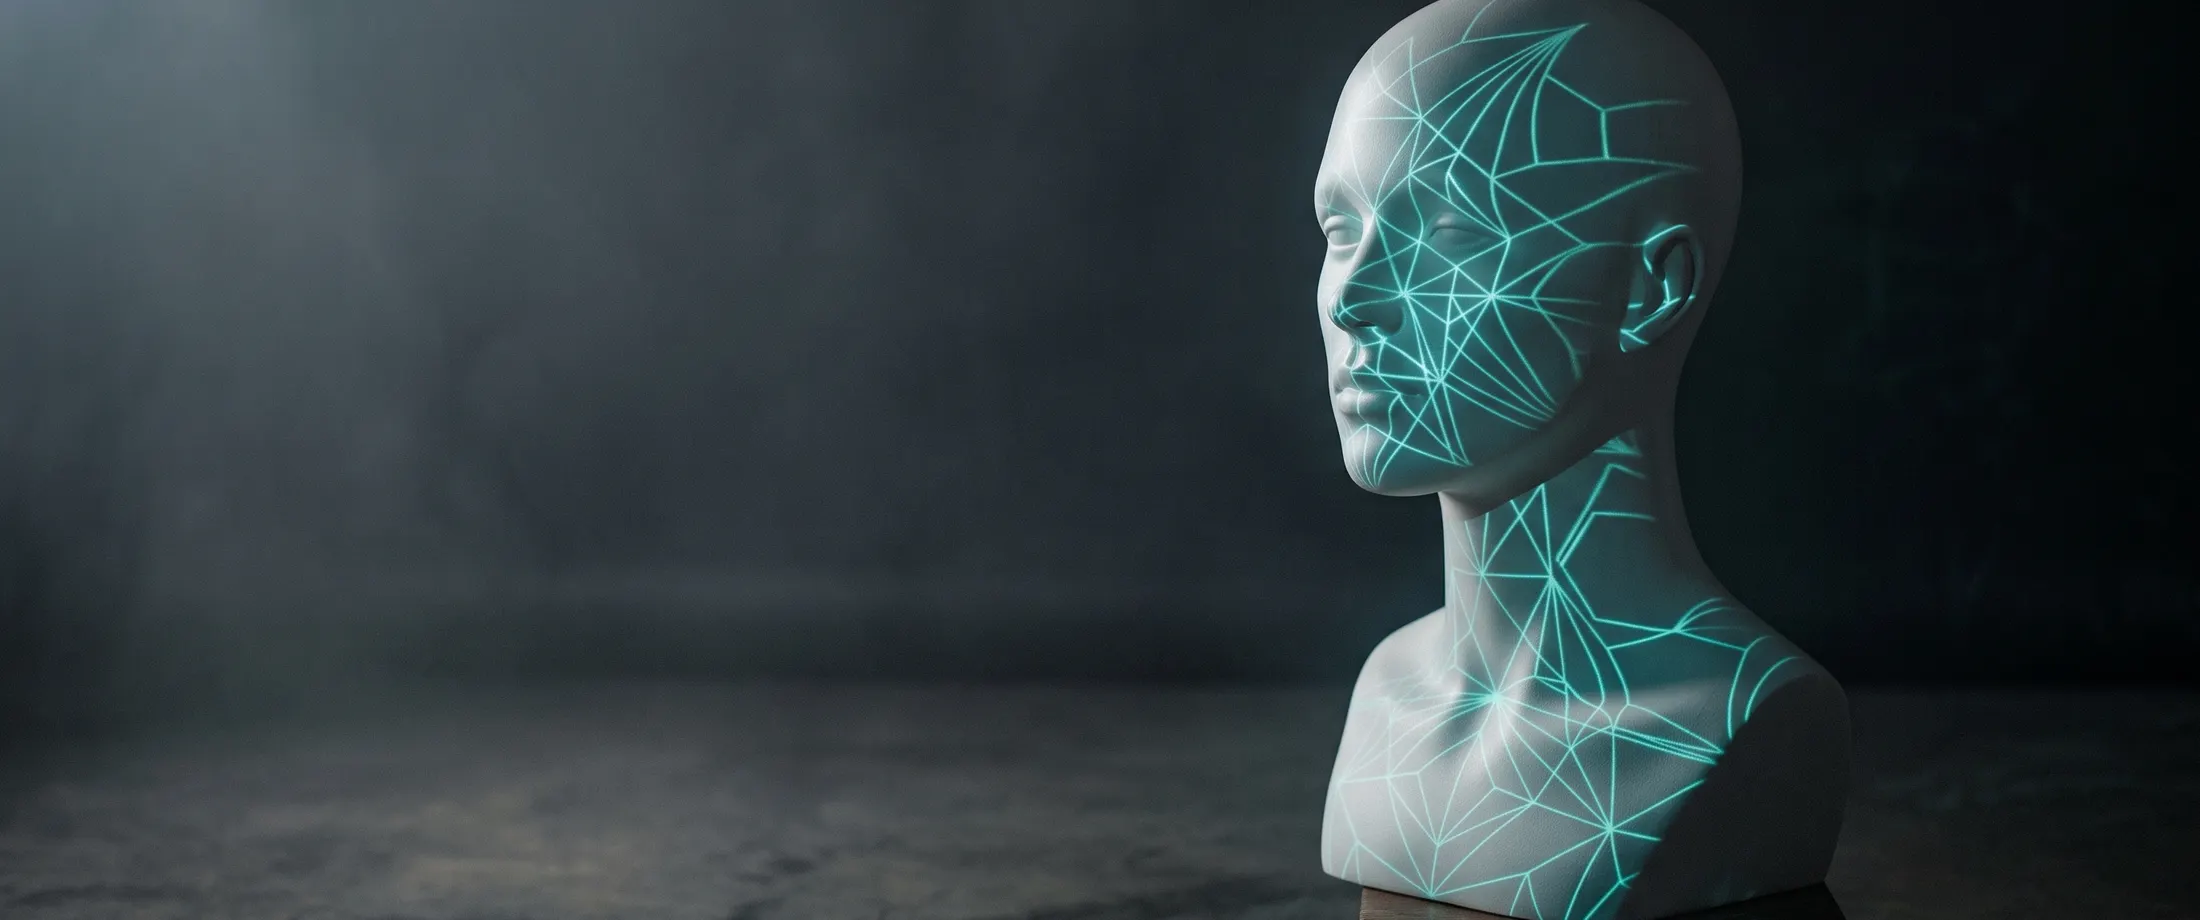
Hands-on: real-time face tracking in the browser, no build tools
Face tracking used to require a C++ pipeline and a GPU budget. Today it runs at 60 fps in a browser tab, in about a hundred lines of plain HTML and JavaScript. No bundler, no server, no install step. The engine doing the heavy lifting is MediaPipe, Google’s open-source on-device ML library (Apache-2.0 licensed). We’ll load it from a CDN and draw its 478-point face mesh live over your webcam.
1. The skeleton
One file. A button to ask for the camera, a <video> for the feed, and a <canvas> overlaid on top for the landmarks.
<!doctype html>
<html lang="en">
<head>
  <meta charset="utf-8" />
  <meta name="viewport" content="width=device-width, initial-scale=1" />
  <title>Face tracking, no build tools</title>
  <style>
    body { margin: 0; background: #0a1214; color: #e8f0f0;
           font-family: system-ui; display: grid; place-items: center;
           min-height: 100vh; }
    .stage { position: relative; }
    video, canvas { width: 640px; max-width: 90vw; border-radius: 12px; }
    canvas { position: absolute; inset: 0; }
    button { padding: 0.8em 1.6em; font-size: 1rem; border-radius: 8px;
             border: none; background: #2dd4bf; color: #062a26; }
  </style>
</head>
<body>
  <button id="start">Enable camera</button>
  <div class="stage" hidden>
    <video id="video" autoplay playsinline muted></video>
    <canvas id="overlay"></canvas>
  </div>
  <script type="module">
    // The code from sections 2–4 goes here, in order.
  </script>
</body>
</html>
2. Load MediaPipe from a CDN
Import the vision task bundle straight from jsDelivr, point the resolver at the matching WASM, and create a FaceLandmarker. Note the package name, @mediapipe/tasks-vision, and the pinned version.
import { FaceLandmarker, FilesetResolver } from
  'https://cdn.jsdelivr.net/npm/@mediapipe/tasks-vision@0.10.35/vision_bundle.mjs';

const filesets = await FilesetResolver.forVisionTasks(
  'https://cdn.jsdelivr.net/npm/@mediapipe/tasks-vision@0.10.35/wasm'
);

const landmarker = await FaceLandmarker.createFromOptions(filesets, {
  baseOptions: {
    modelAssetPath:
      'https://storage.googleapis.com/mediapipe-models/face_landmarker/' +
      'face_landmarker/float16/1/face_landmarker.task',
    delegate: 'GPU',
  },
  runningMode: 'VIDEO',
  numFaces: 1,
});
That model file is the official MediaPipe Face Landmarker, which returns 478 landmarks per face (and, if you ask for them, 52 blendshapes).
3. The camera permission dance
getUserMedia only works in a secure context (https:// or localhost), and only after a user gesture. Wire it to the button and handle the two failure modes users actually hit.
const video = document.getElementById('video');
const button = document.getElementById('start');

button.addEventListener('click', async () => {
  try {
    const stream = await navigator.mediaDevices.getUserMedia({
      video: { facingMode: 'user', width: { ideal: 1280 } },
      audio: false,
    });
    video.srcObject = stream;
    button.remove();
    document.querySelector('.stage').hidden = false;
    video.addEventListener('loadeddata', startTracking, { once: true });
  } catch (err) {
    button.textContent =
      err.name === 'NotAllowedError'
        ? 'Camera blocked: check site permissions'
        : 'No camera found';
  }
});
4. Track and draw
Size the canvas to the video, then run inference once per camera frame using requestVideoFrameCallback (which fires in lockstep with the video, unlike requestAnimationFrame). Landmarks come back normalized to 0–1, so multiply by the canvas dimensions.
function startTracking() {
  const canvas = document.getElementById('overlay');
  canvas.width = video.videoWidth;
  canvas.height = video.videoHeight;
  const ctx = canvas.getContext('2d');

  const onFrame = (now, _meta) => {
    const result = landmarker.detectForVideo(video, now);
    ctx.clearRect(0, 0, canvas.width, canvas.height);

    for (const face of result.faceLandmarks ?? []) {
      ctx.fillStyle = '#2dd4bf';
      for (const p of face) {
        ctx.fillRect(p.x * canvas.width, p.y * canvas.height, 2, 2);
      }
    }
    video.requestVideoFrameCallback(onFrame);
  };
  video.requestVideoFrameCallback(onFrame);
}
That’s the whole tracker.
5. Performance notes from the field
On a mid-range Android (a Pixel 7a-class phone) in Chrome, the GPU delegate runs inference in roughly 8–11 ms per frame, comfortably 60 fps. Fall back to the CPU/WASM path and it’s closer to 35–50 ms. The float16 model is about 3.7 MB, so first load pays a one-time download; after that it’s cached.
6. Where it breaks
Two caveats. First, camera access needs a secure context. It will silently do nothing on plain http://. Second, and more important for anything real: a CDN import is a live supply-chain dependency, executable code you don’t control, re-resolved on every page load. This single-file pattern is perfect for prototypes and demos; for production, pin exact versions (as above) and vendor the library and model into your own hosting rather than trusting a live CDN.
The ~100-line file you just built is the core of a production tracker; the rest is hardening. The same recipe also carries past the face: the follow-up tutorial pulls 21 hand landmarks and 33 body-pose points out of the same @mediapipe/tasks-vision bundle and turns a pinch into a click. On-device face, hand, and body tracking is the kind of computer vision CloudSignal builds and reviews. If you’re taking a single-file prototype toward production, get in touch.
Sources / further reading
- MediaPipe Face Landmarker (Google): https://ai.google.dev/edge/mediapipe/solutions/vision/face_landmarker
@mediapipe/tasks-visionon npm: https://www.npmjs.com/package/@mediapipe/tasks-vision- MediaPipe source & license (Apache-2.0): https://github.com/google-ai-edge/mediapipe
requestVideoFrameCallback(MDN): https://developer.mozilla.org/en-US/docs/Web/API/HTMLVideoElement/requestVideoFrameCallback
Written by Ashwin Rajendraprasad for CloudSignal AI. The code above is free to reuse.